Pour Over Coffee Guide: Mastering Brew Ratios and Technique in the UK
Pour over coffee has moved from speciality cafés into British kitchens, and for good reason. This manual brewing method gives you complete control over extraction, producing a clean, nuanced cup that highlights the characteristics of quality beans. Whether you’re using a V60, Chemex, or Kalita Wave, understanding the fundamentals of ratios and technique will transform your morning routine.
Why Pour Over Works
The appeal of pour over lies in its simplicity and precision. Unlike automatic drip machines, you control water temperature, pour rate, and contact time. This hands-on approach means you can adjust variables to suit different beans and roast levels, extracting the flavours you want whilst avoiding bitterness or sourness.
The method also produces a remarkably clean cup. Paper filters remove oils and fine particles that would otherwise cloud the brew, resulting in a clarity that lets you taste subtle notes—whether that’s the berry sweetness of an Ethiopian Yirgacheffe or the chocolate depth of a Colombian Supremo.
Essential Equipment
You don’t need much to start brewing excellent pour over coffee. A dripper (V60, Chemex, or similar), matching paper filters, a gooseneck kettle, scales, and a grinder form the core setup. The gooseneck kettle isn’t optional—its narrow spout gives you the control needed for even water distribution. Digital scales accurate to 0.1g ensure consistency between brews.
Your grinder matters more than your dripper. Blade grinders produce uneven particles that extract inconsistently, leading to muddled flavours. A decent burr grinder, whether hand-crank or electric, creates uniform grounds that extract evenly. Expect to spend £40-80 for a reliable hand grinder or £100+ for an entry-level electric model.
Understanding Brew Ratios
Brew ratio refers to the relationship between coffee and water, typically expressed as 1:15, 1:16, or 1:17. This means for every gram of coffee, you use 15, 16, or 17 grams of water. A 1:15 ratio produces a stronger, more concentrated brew, whilst 1:17 yields a lighter cup.
Most British coffee drinkers find 1:16 a sensible starting point. For a standard 250ml cup, that’s 15.6g of coffee to 250g of water. Yes, we’re measuring water by weight rather than volume—it’s more accurate and accounts for water absorbed by the grounds during brewing.
These ratios aren’t rigid rules. Light roasts often benefit from slightly higher ratios (1:17 or 1:18) to avoid over-extraction, whilst darker roasts might work better at 1:15 to prevent thin, weak flavours. The key is consistency—once you find a ratio you like, stick with it whilst you refine other variables.
Grind Size Matters
Grind size directly affects extraction speed. Too fine, and water struggles to flow through, over-extracting bitter compounds. Too coarse, and water rushes through, under-extracting and leaving you with sour, weak coffee.
For pour over, aim for a medium-fine grind—similar to granulated sugar or slightly coarser. The exact setting depends on your grinder, beans, and dripper design. V60s typically want a slightly finer grind than Chemex due to their faster flow rate.
Adjust grind size based on brew time. If your total brew time (from first pour to final drip) exceeds four minutes, grind coarser. If it finishes under two and a half minutes, go finer. Most pour overs should complete between 2:30 and 3:30, though this varies with recipe and dripper.
Water Temperature and Quality
Water temperature affects which compounds extract from coffee grounds. Too hot (above 96°C), and you’ll pull harsh, bitter notes. Too cool (below 88°C), and extraction stalls, leaving acids and brightness without balancing sweetness.
The sweet spot sits between 92-94°C for most coffees. Light roasts can handle slightly hotter water (94-96°C) to ensure full extraction, whilst dark roasts prefer the lower end (90-92°C) to avoid bitterness. If you don’t have a temperature-controlled kettle, simply boil water and let it rest for 30-45 seconds.
Water quality matters as much as temperature. British tap water varies considerably by region. Hard water (high in minerals) can mute flavours and create scale buildup, whilst very soft water under-extracts and tastes flat. If your tap water tastes chlorinated or heavily treated, consider filtered water. Avoid distilled water entirely—coffee needs some mineral content to extract properly.
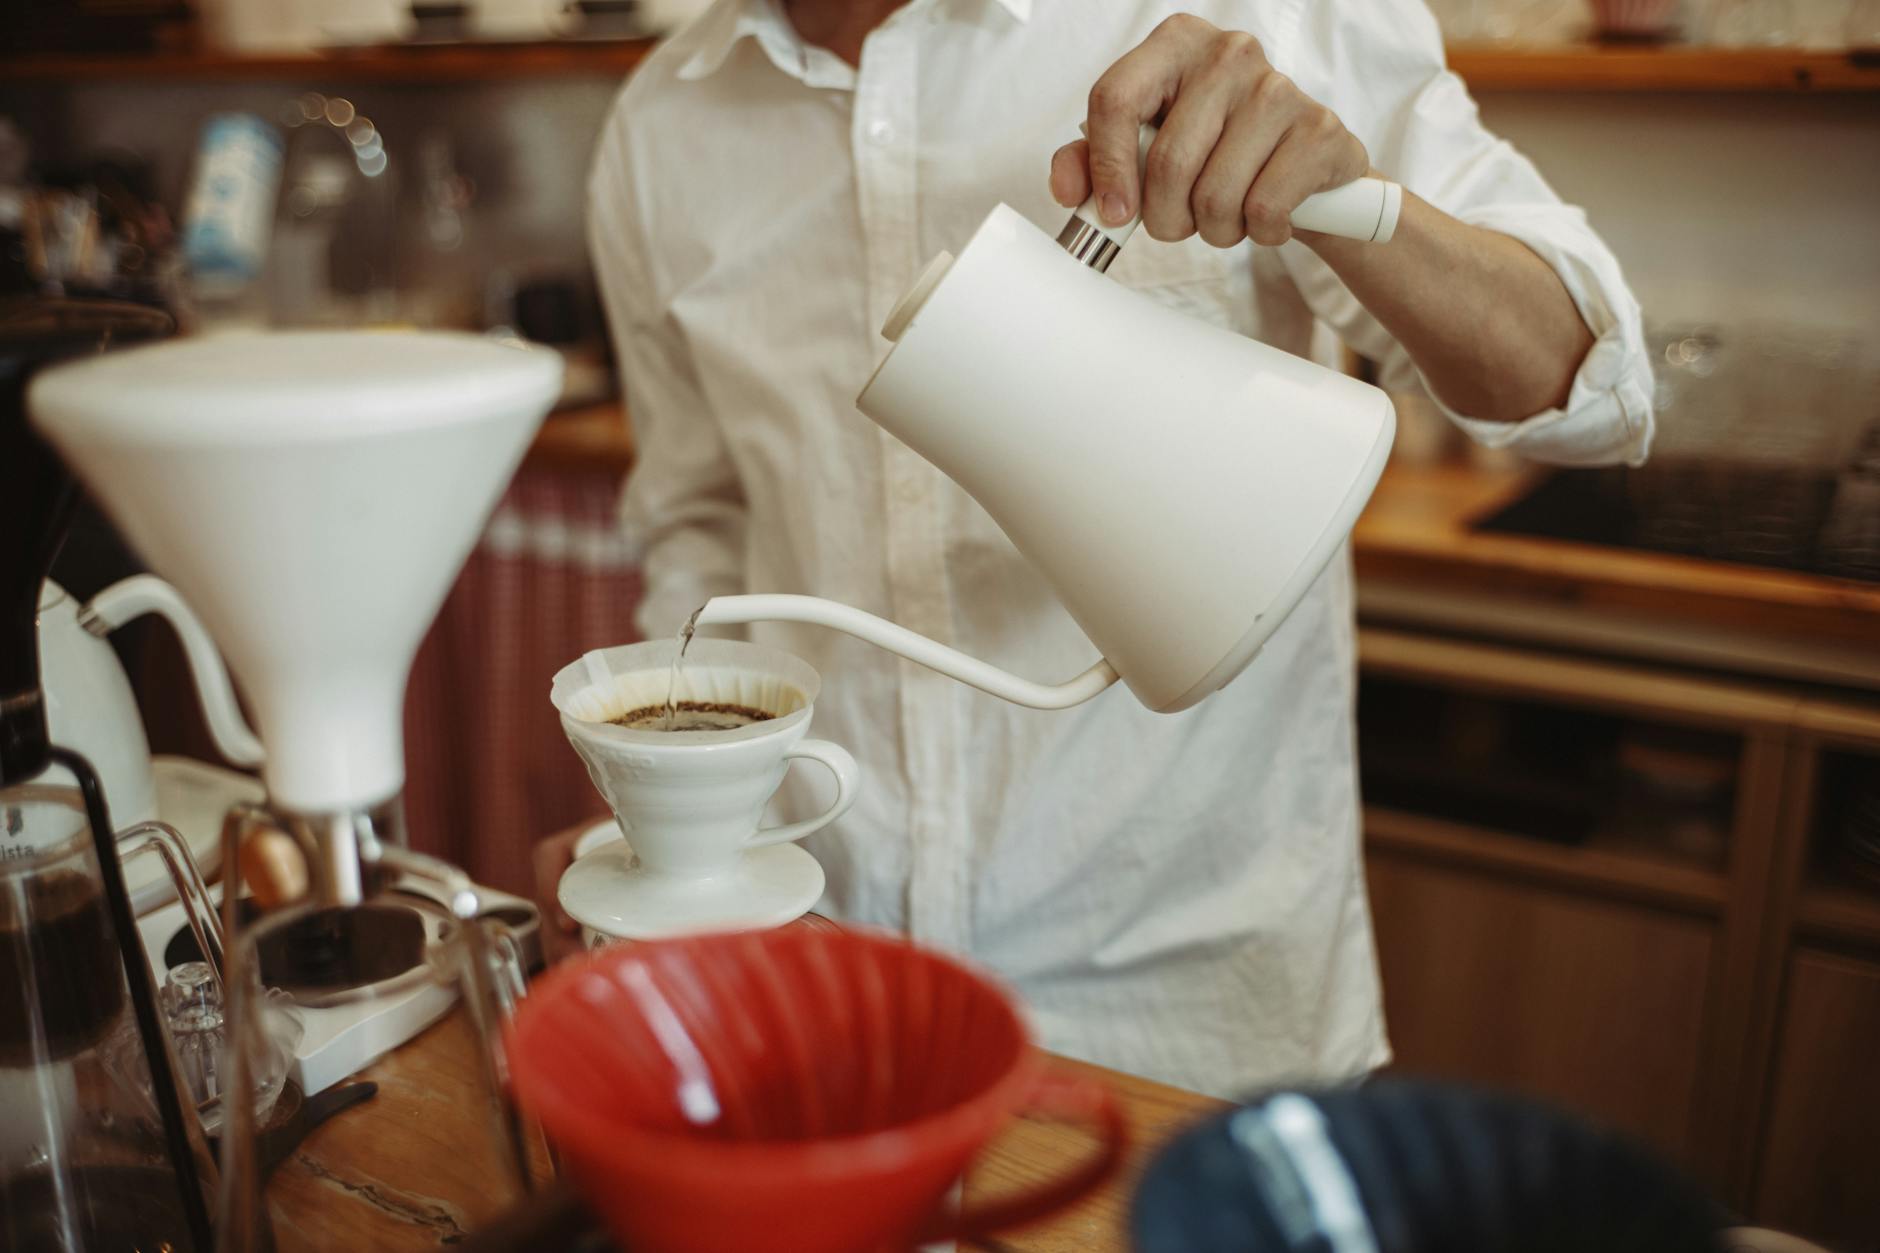
The Basic Pour Over Technique
Start by rinsing your paper filter with hot water. This removes papery taste and preheats your dripper and vessel. Discard the rinse water before adding grounds.
Add your measured coffee and create a small well in the centre. This helps ensure even saturation during the bloom phase. Place everything on your scales and tare to zero.
The bloom comes first. Pour roughly twice the weight of your coffee dose in water (so 30g water for 15g coffee), starting from the centre and spiralling outward. Ensure all grounds are saturated. You’ll see the coffee bed rise and release CO2—this degassing is essential for even extraction. Wait 30-45 seconds.
After the bloom, begin your main pours. Rather than dumping all the water at once, pour in stages. A common approach uses three or four pours after the bloom, each adding 60-80g of water. Pour in slow, steady spirals from the centre outward, avoiding the filter edges where water can channel through without extracting.
Maintain a consistent water level in the dripper—neither flooding the grounds nor letting them dry out between pours. This steady approach promotes even extraction across all the coffee.
Troubleshooting Common Issues
Sour, sharp coffee indicates under-extraction. Try grinding finer, using hotter water, or extending your brew time with slower pours. Under-extraction often results from water channelling through the grounds too quickly.
Bitter, harsh coffee signals over-extraction. Grind coarser, lower your water temperature slightly, or speed up your pour rate. Over-extraction happens when water contacts grounds for too long or at too high a temperature.
Weak, watery coffee might mean your ratio is off (too much water), your grind is too coarse, or your water isn’t hot enough. Conversely, overly strong, muddy coffee suggests too much coffee, too fine a grind, or water that’s too hot.
Uneven extraction—where your coffee tastes both sour and bitter—indicates channelling. Water finds paths of least resistance through the coffee bed, over-extracting some areas whilst under-extracting others. Ensure even saturation during the bloom and maintain consistent pour patterns.
Advanced Techniques
Once you’ve mastered the basics, experiment with pulse pouring versus continuous pouring. Pulse pouring (multiple small pours with brief pauses) gives you more control and can improve clarity, whilst continuous pouring (one steady stream after the bloom) often produces a fuller body.
The Rao spin technique involves gently swirling your dripper after the final pour to flatten the coffee bed. This promotes even extraction in the final stages and often results in a cleaner cup.
Water composition tweaking appeals to serious enthusiasts. Some add mineral drops or brew with specific bottled waters to optimise extraction. This level of detail isn’t necessary for good coffee, but it can refine an already excellent brew.
Choosing Your Beans
Pour over excels at showcasing single-origin coffees with distinct flavour profiles. Look for beans roasted within the past month—freshness matters significantly with this brewing method. Many UK roasters now print roast dates on their bags.
Light to medium roasts generally work best for pour over, as the method highlights their complexity and brightness. Dark roasts can work but require careful attention to avoid bitterness—use slightly cooler water and a coarser grind.
Store beans in an airtight container away from light and heat. Don’t refrigerate or freeze them unless you’re storing large quantities long-term. Coffee is hygroscopic (absorbs moisture and odours), so proper storage preserves the flavours you paid for.
Developing Your Palate
Tasting coffee critically takes practice. Start by noting basic characteristics: is it sweet, acidic, or bitter? Does it feel heavy or light in your mouth? As you brew more, you’ll begin identifying specific notes—fruit, chocolate, nuts, florals.
Keep a simple log of your brews: coffee used, ratio, grind setting, water temperature, and total brew time. Note what you liked or didn’t. This record helps you replicate successes and avoid repeating mistakes.
Taste your coffee at different temperatures. As it cools, different flavours emerge. A brew that tastes sharp when hot might reveal pleasant fruit notes at room temperature. Professional cuppers often evaluate coffee across a range of temperatures for this reason.
Making It Routine
The beauty of pour over lies in its ritual. Yes, it takes longer than pressing a button on a machine, but those few minutes of focused attention create a mindful start to your day. The process becomes meditative—weighing, pouring, watching the bloom.
Consistency comes with repetition. Your first attempts might produce variable results, but within a week or two of daily brewing, muscle memory develops. You’ll instinctively know when your pour rate is right, when the grind looks correct, when the bloom behaves as it should.
Don’t obsess over perfection. Even professional baristas produce variable cups. The goal isn’t flawless replication every time—it’s understanding the principles well enough to adjust when something tastes off and to appreciate when everything comes together beautifully.
Pour over coffee rewards attention and care with exceptional flavour. Master the fundamentals of ratio, grind, and technique, then trust your palate to guide refinements. The result is coffee that tastes distinctly better than anything from an automatic machine—and the satisfaction of knowing you brewed it yourself.