How to Pull the Perfect Espresso Shot at Home
There is a particular kind of satisfaction that comes from pulling a genuinely good espresso shot in your own kitchen. The rich crema settling on top, the syrupy body, the way the aroma fills the room — it is one of those small daily pleasures worth getting right. The problem is that most home espresso tastes nowhere near as good as what you get from a decent café, and the gap is rarely down to expensive equipment. It comes down to understanding what espresso actually is, and then controlling the variables that matter.
This guide covers everything you need to know to pull consistently excellent espresso at home, written for a UK audience where coffee culture has genuinely matured over the past decade. Whether you are using a £300 entry-level machine or a mid-range setup pushing £1,000, the principles are exactly the same.
What Espresso Actually Is
Espresso is not a type of coffee bean or a roast level — it is a brewing method. Hot water is forced through finely ground, compacted coffee at pressure, typically around 9 bars, producing a concentrated shot that is roughly 25–35ml in volume. What makes espresso different from every other brewing method is that combination of pressure, fine grind, and short contact time. Get any one of those variables wrong and the shot will suffer.
The drink originated in Italy in the early twentieth century, but the UK’s relationship with espresso has its own story. British coffee culture spent decades dominated by instant coffee and then by the cafébar chains of the 1990s. The specialty coffee movement — with independent roasters like Square Mile in London, North Star in Leeds, and Rounton Coffee in North Yorkshire — changed expectations dramatically. Today, a well-pulled flat white from a good independent is a genuine benchmark, and it is entirely achievable at home.
Equipment: What You Actually Need
The Espresso Machine
You do not need to spend a fortune, but you do need a machine that can maintain stable pressure and temperature. Below roughly £150, most domestic espresso machines produce inconsistent results because they cannot hold 9 bars of stable pressure or regulate boiler temperature properly. This is not snobbery — it is physics.
A solid entry point in the UK market is the Sage Bambino Plus, which typically retails around £299–£349 and comes with a decent steam wand and reasonable temperature stability. Step up to the Sage Barista Express (around £599–£699) and you get an integrated grinder, which is convenient though not ideal for serious dialling in. The Gaggia Classic Pro, hovering around £350–£400, has a passionate following in the UK home espresso community and can be modified with aftermarket parts as your skills develop.
If your budget stretches to £800–£1,200, machines like the Sage Barista Touch or the Lelit Mara X offer much better temperature stability and steaming capability. But to be direct: a £350 machine paired with a good standalone grinder will produce better espresso than a £700 all-in-one machine with a mediocre integrated grinder.
The Grinder: The Most Important Purchase
If you are serious about home espresso, the grinder matters more than the machine. Espresso requires an extremely fine, highly consistent grind. Cheap grinders produce uneven particle sizes — a mix of fines and larger chunks — which causes water to channel through the puck unevenly, leading to sour or bitter shots.
For espresso, burr grinders are essential. Blade grinders are completely unsuitable. Within burr grinders, flat burr and conical burr designs both work well; the debate between them is largely academic at home use levels.
Budget-friendly options worth considering include the Baratza Encore (around £160–£180), though it is better suited to filter coffee than espresso. For true espresso grinding, look at the Baratza Sette 270 (around £320–£350), the DF64 (around £250–£300 depending on supplier), or — at the more affordable end — the Sage Smart Grinder Pro (around £170–£200), which pairs neatly with Sage machines.
Hand grinders like the 1Zpresso JX-Pro or the Comandante C40 (both around £130–£200) are excellent for single-dosing espresso and produce results that beat many electric grinders at the same price point. They require effort but reward patience.
Supporting Equipment
Beyond the machine and grinder, a few additional items make a meaningful difference:
- A quality tamper: Your machine may come with a plastic tamper. Replace it. A 58mm stainless steel tamper costs around £20–£40 and gives you a far more consistent, level tamp.
- A distribution tool or WDT tool: A Weiss Distribution Technique tool (essentially a needle-based stirrer) costs under £20 and helps break up clumps in the coffee puck before tamping, dramatically improving shot consistency.
- A decent set of scales: Espresso is about ratios. Scales that measure to 0.1g are ideal. The Acaia Lunar is beautiful but costs around £200. The Timemore Black Mirror Basic (around £35–£50) does the job perfectly well.
- A shot glass or small jug: Pulling shots directly into a glass or small stainless jug lets you monitor volume and timing.
The Coffee Itself
Choosing the Right Beans
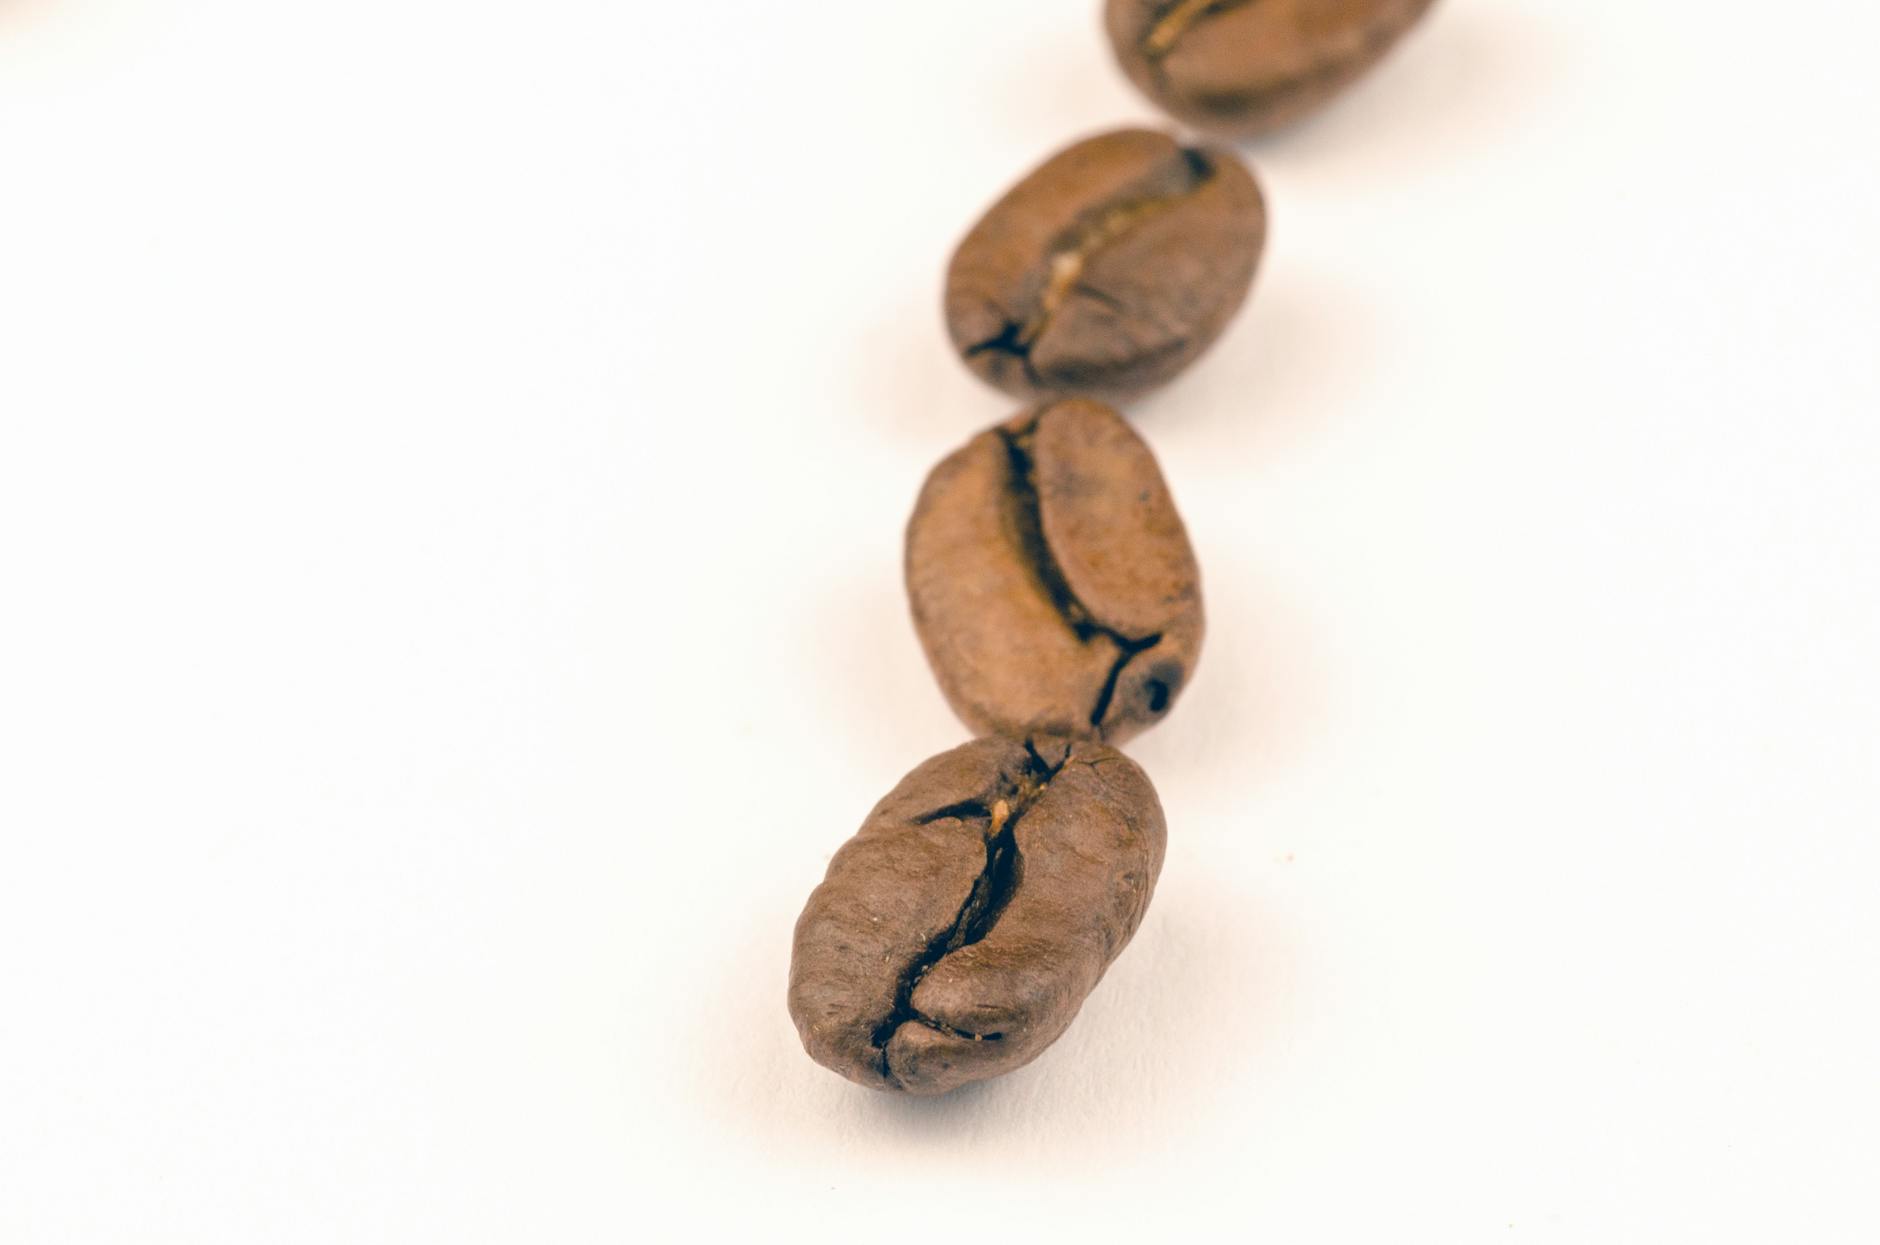
Fresh beans matter enormously in espresso. Coffee is at its best between 7 and 30 days after roasting. Most supermarket coffee does not carry a roast date — only a best-before date — which tells you very little. Buying from a specialty roaster gives you roast-dated coffee and far greater transparency about origin and processing.
UK roasters worth exploring include:
- Square Mile Coffee Roasters (London) — consistently excellent, clear tasting notes, good for both milk-based and black espresso drinks
- Hasbean (Stafford) — one of the longest-running UK specialty roasters, broad range at fair prices
- Dark Arts Coffee (London) — bold flavour profiles, excellent for those who like a heavier roast
- Rounton Coffee (North Yorkshire) — reliable, well-priced, good subscription options
- Colonna Coffee (Bath) — if you want to explore lighter, more experimental espresso
For beginners, a medium roast espresso blend is the most forgiving. Single origins can produce spectacular espresso — bright, fruity, complex — but they are less tolerant of small dialling errors and often require slightly different extraction parameters.
Storage
Store your beans in an airtight container, away from light and heat. A kitchen cupboard away from the hob is fine. Do not refrigerate coffee — the moisture and absorption of food odours does more harm than good. Do not freeze beans unless you are storing them in vacuum-sealed bags for longer than a month.
The Fundamentals of Pulling a Shot
Understanding the Brew Ratio
Espresso is defined by its ratio of dry coffee (the dose) to liquid espresso in the cup (the yield). A standard espresso ratio is 1:2 — meaning 18g of coffee in produces around 36g of liquid out. This is your starting point, not a rule set in stone.
- Ristretto: 1:1 to 1:1.5 (18g in, 18–27g out) — shorter, more concentrated, sweeter
- Standard espresso: 1:2 (18g in, 36g out)
- Lungo: 1:3 or beyond (18g in, 54g+ out) — longer, more extracted, often used with lighter roasts
Time also matters. A standard 1:2 espresso should take between 25 and 35 seconds from the moment the pump starts to when you stop the shot. This is your dial-in guide: if the shot runs too fast (under 20 seconds), grind finer. If it runs too slowly (over 40 seconds), grind coarser.
The Dialling-In Process
Dialling in means adjusting your variables — primarily grind size — until the shot tastes right. This process is iterative and cannot be skipped. New beans, humidity changes, or a different roast level can all require adjustments.
Start with a fixed dose — say 18g — and a target yield of 36g. Pull a shot, time it, and taste it. Use the following as a guide:
- Sour, sharp, thin: Under-extracted. Grind finer, or increase your dose slightly.
- Bitter, dry, ashy: Over-extracted. Grind coarser, or reduce your dose slightly.
- Sweet, balanced, with a clean finish: You are in the right area. Minor tweaks to yield or time can refine from here.
Only change one variable at a time. If you adjust the grind and the dose simultaneously, you will not know which change made the difference.
The Tamp
Tamping compresses the coffee puck so water passes through evenly rather than finding weak spots and channelling. Apply firm, level pressure — around 15–20kg of force — and make sure the tamp is perfectly horizontal. An uneven tamp creates an uneven puck, and water will always take the path of least resistance.
After tamping, run your finger lightly around the top of the basket to remove any loose grounds from the rim, which can cause a poor seal with the group head gasket.
Temperature and Pressure
Most domestic machines target around 93–94°C at the group head. Some machines, like the Gaggia Classic, run slightly hot out of the box and benefit from a technique called temperature surfing
to catch the brew cycle at a more suitable point. If your machine has a PID controller, you’ll have much more precise control, which makes consistency far easier.
Pressure matters too. Traditional espresso is brewed at around 9 bars of pressure, but that figure only helps if everything else is in balance. Too fine a grind, too much coffee, or excessive tamping can all cause the shot to choke, while too coarse a grind will lead to a pale, fast extraction with little body or sweetness.
Pulling the Shot
Lock the portafilter in firmly and start the shot immediately. If your machine allows for pre-infusion, use it; a few seconds of gentle saturation can help reduce channelling and promote a more even extraction.
As a starting point, aim for a brew ratio of roughly 1:2. In practical terms, that means using 18g of ground coffee to yield around 36g of espresso in the cup. A good target extraction time is usually 25–30 seconds from the moment the pump starts, though the ideal result depends on the coffee and your taste.
Watch the flow as it pours. It should begin slowly, then settle into a thin, steady stream resembling warm honey. The crema should be rich and hazel-brown rather than pale and bubbly or dark and spotty. If the shot runs too quickly, tighten the grind. If it drips painfully slowly or tastes harsh and bitter, coarsen it slightly.
Taste and Adjust
The final judge is always the cup. Sourness usually points to under-extraction, so try grinding finer, increasing the yield slightly, or extending the shot time. Bitterness and dryness suggest over-extraction, in which case a slightly coarser grind or shorter yield may help.
Make only one adjustment at a time and keep notes. Espresso is a game of small variables, and methodical changes will teach you far more than guessing ever will.
Cleaning and Consistency
Once you’ve finished, knock out the puck, rinse the basket, and wipe the shower screen. Regular backflushing and descaling will keep your machine performing properly and prevent stale coffee oils from spoiling flavour. A clean machine, fresh beans, and a reliable routine are the real foundations of excellent espresso at home.
Pulling the perfect espresso shot is part technique, part patience, and part repetition. With fresh coffee, a capable grinder, careful preparation, and a willingness to adjust by taste, you can produce café-quality espresso in your own kitchen. Master the basics first, stay consistent, and the perfect shot will become much less a matter of luck and much more a matter of habit.