Espresso at Home: Practical Tips for Better Shots Every Day
Making espresso at home can be one of the most satisfying parts of a daily routine. A good shot has sweetness, body, a pleasant bitterness and enough aroma to make the kitchen smell brilliant before breakfast. A bad one, on the other hand, can taste sharp, thin, muddy or oddly flat. The frustrating part is that tiny changes can make a big difference. The encouraging part is that once you understand the basics, those changes become manageable.
Home espresso in the UK has grown quickly in recent years. More people are buying fresh beans from local roasters, fitting grinders on kitchen worktops and learning what their machines can really do. You do not need a commercial set-up to get consistently better coffee. What you do need is a sensible approach: good beans, a capable grinder, attention to water, a repeatable method and a willingness to adjust one thing at a time.
This guide focuses on practical improvements that make everyday espresso better. It is aimed at normal home use, not competition coffee, and it keeps the UK context in mind, from water hardness to common machine choices and where people usually buy beans.
What makes a good espresso at home?
Espresso is concentrated coffee made by pushing hot water through finely ground coffee under pressure. That sounds simple enough, but a lot is happening in a short time. The grind needs to be fine enough to slow the water down, the dose needs to suit the basket, the coffee must be distributed evenly, and the shot has to stop at the right moment.
At home, a good espresso should be:
- Sweet enough to be pleasant on its own, even if you usually add milk
- Balanced, without harsh sourness or rough bitterness dominating
- Textured, with some body and a smooth mouthfeel
- Consistent, so the coffee tastes similar from one morning to the next
You are not chasing perfection every day. You are aiming for a method that produces very good coffee reliably, without turning breakfast into a laboratory session.
Start with the grinder, not the machine
If you are deciding where to spend money, the grinder matters more than most people expect. A capable espresso grinder gives you control over extraction. A poor grinder makes the process erratic because the particles are too uneven, which leads to bitterness and sourness in the same cup.
Many home users in the UK buy an espresso machine first and try to get by with pre-ground coffee or a basic grinder. That nearly always limits what the machine can do. Even a fairly modest espresso machine can produce enjoyable results if paired with a proper grinder. A costly machine paired with a poor grinder will struggle.
What to look for in a home espresso grinder
- Fine adjustment: espresso needs small grind changes, sometimes just a click or two
- Consistency: more even particles usually mean cleaner flavour and better shot flow
- Low retention: less old coffee trapped inside the grinder helps freshness
- Reasonable workflow: easy enough to use when you are half-awake
Single-dose grinders are popular with home users because they make it easy to switch beans and reduce waste. Hopper-fed grinders are convenient if you use the same coffee every day. Either can work well if the grind quality is there.
Buy fresher beans, but not too fresh
Espresso starts with coffee that still has life in it. Supermarket beans can be fine for casual brewing, but if the roast date is missing or the coffee has been sitting around for months, it is harder to get a lively, sweet shot. The UK now has a strong range of independent roasters, and many post coffee quickly in small batches.
For espresso, coffee is often best after a short rest following roasting. Very fresh beans can produce too much gas, making extraction messy and inconsistent. As a rough guide:
- Medium to darker espresso roasts: often good from around 7 to 14 days after roast
- Lighter roasts: may improve with 10 to 21 days of rest, sometimes longer
This is not a strict rule, but it is a useful starting point. Check the roaster’s notes if they provide brewing advice.
How to store coffee properly
Keep beans in a cool, dry place away from sunlight. An airtight container helps, but the original bag with a one-way valve is often good enough if sealed well. Avoid storing daily-use coffee in the fridge, where condensation can cause problems. If you buy larger amounts to save money, freezing portions in well-sealed bags works better than many people think. Just thaw fully before opening.
Understand your water, especially in the UK
Water is easy to ignore because it comes out of the tap and looks harmless. In coffee, it affects both flavour and machine health. This matters in the UK because water quality varies quite a lot from one area to another. London and much of the South East, for example, tend to have hard water. Parts of Scotland, Wales and the North can be much softer.
Very hard water can dull flavour and lead to scale build-up in boilers, pipes and valves. Very soft water can make coffee taste flat or sharp and may not extract as well. For many home users, filtered water is a sensible middle ground.
Practical water advice
- Check your local water hardness through your supplier’s website
- Use a filter jug if your area has moderately hard water and your machine allows it
- For very hard water, consider cartridges, in-tank softening or buying suitable low-mineral water for coffee
- Do not rely on distilled water on its own; espresso machines and flavour both need some minerals present
If your machine has a warranty, read the guidance on acceptable water types. Some manufacturers are quite specific. It is cheaper to think about water now than to pay for scale-related repairs later.
Know your machine and warm it up properly
Home espresso machines vary a lot. You might have a manual lever machine, a compact single boiler, a heat exchanger, a dual boiler or a bean-to-cup machine. The exact controls differ, but all espresso machines benefit from proper warm-up. It is not just the boiler that needs to heat; the group head, portafilter and basket also need to be hot enough to avoid cooling the brew water too much.
As a general habit, give your machine enough time to stabilise. Some compact machines may be usable after 10 to 15 minutes, while others benefit from 20 to 30 minutes. Running a blank shot through the group can help warm the portafilter and cup, though on some machines you should avoid excessive flushing. Learn what your specific machine prefers.
Useful checks before pulling a shot
- The portafilter feels properly warm
- The basket is dry before dosing
- The machine is at its normal brewing temperature
- Your cup is pre-warmed if you like hotter espresso drinks
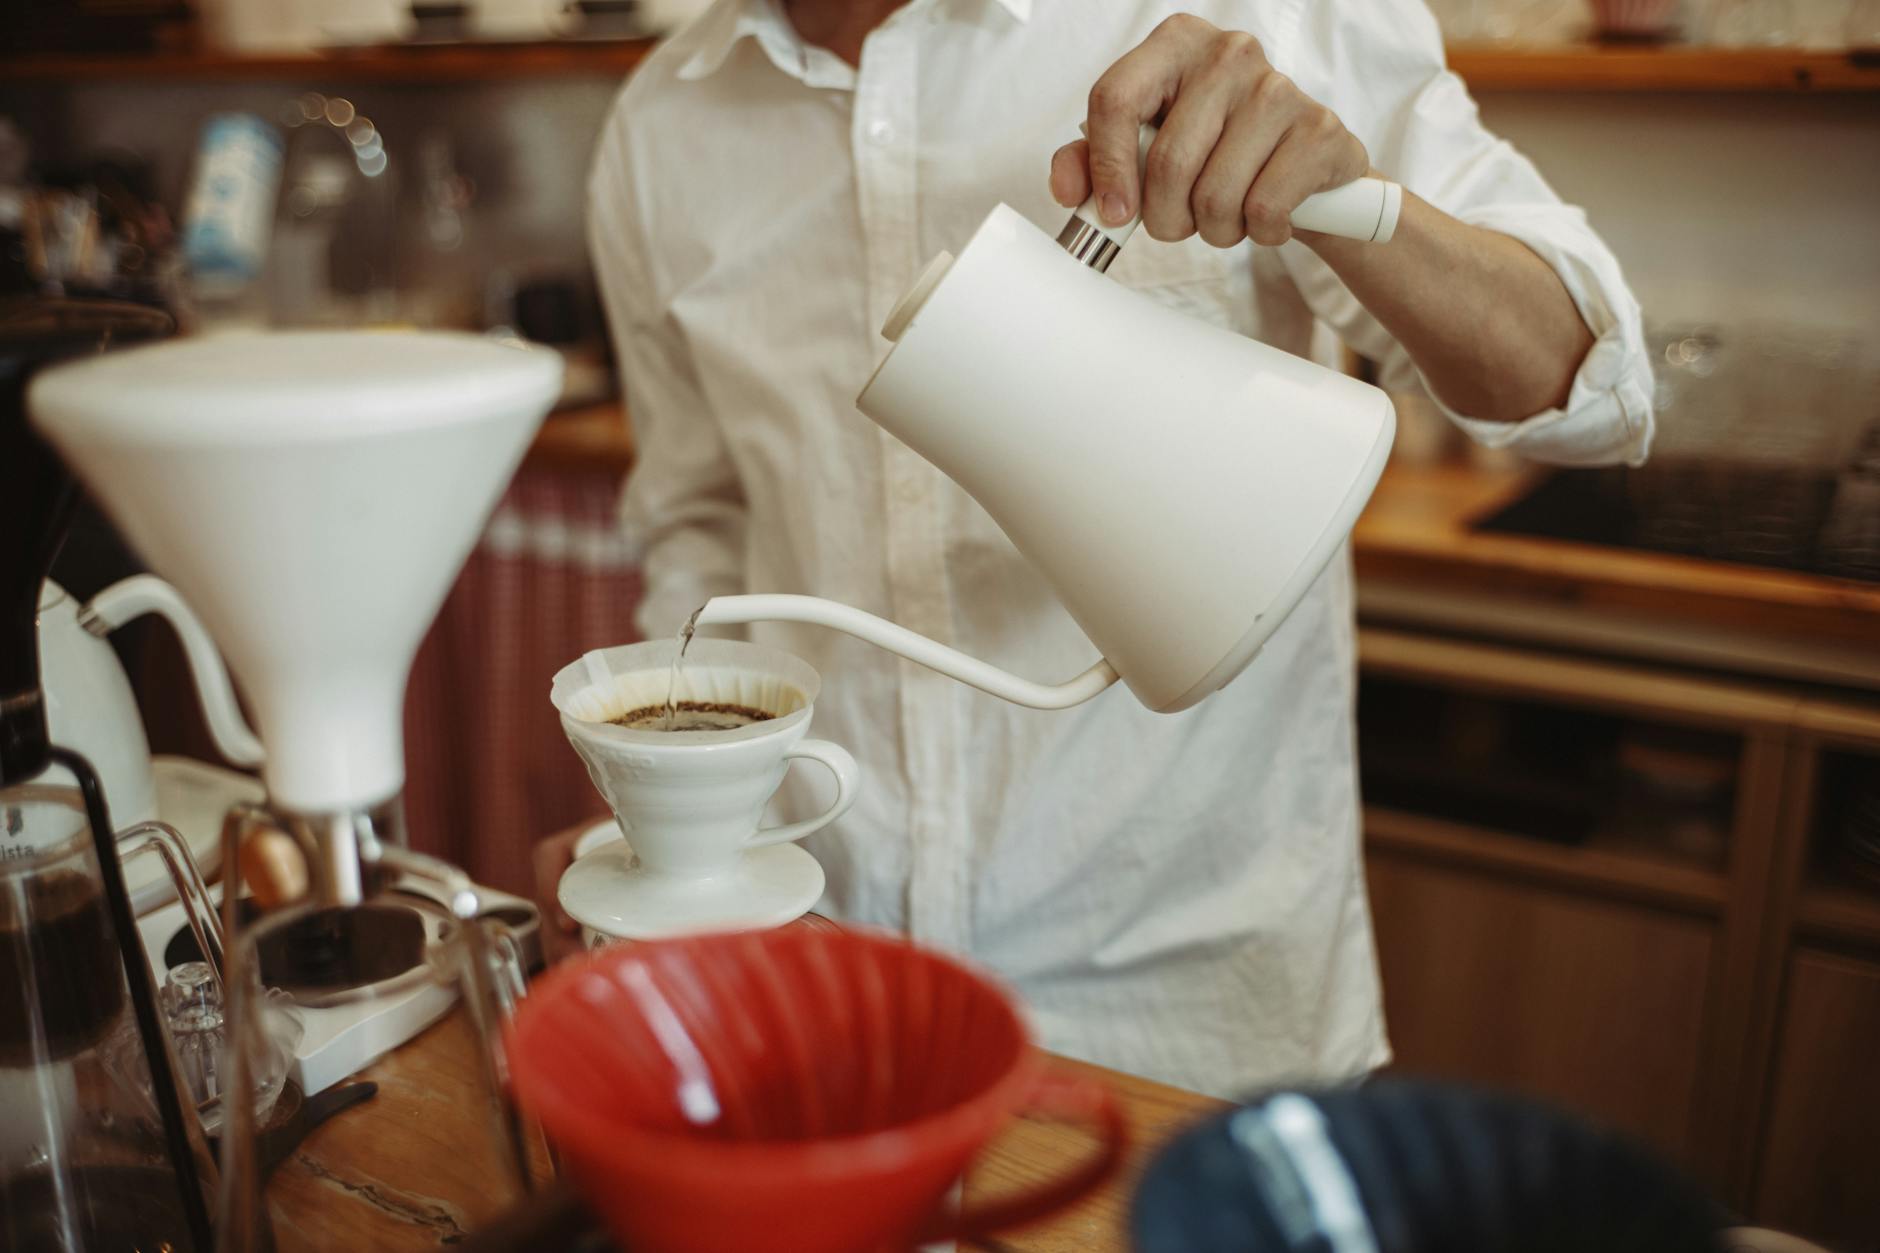
Use a simple espresso recipe and stick to it
One of the easiest ways to improve espresso is to stop changing everything at once. Pick a basic recipe and keep it steady while you dial in.
A very common starting point is:
- Dose: 18g of coffee
- Yield: 36g of espresso in the cup
- Time: about 25 to 32 seconds from pump start
This is a 1:2 brew ratio, and it works as a practical baseline for many coffees in a standard double basket. It is not the only good recipe, but it gives you something repeatable. If you are using a smaller basket, adjust the dose to suit it rather than overfilling. Basket size matters more than people think.
Use scales. They remove guesswork. Weigh the dry coffee going in and the liquid espresso coming out. Volume measurements are less reliable because crema can be misleading.
Dialling in: what to change when the shot tastes wrong
Dialling in sounds technical, but it simply means adjusting your set-up so the coffee tastes right. Start with your chosen dose and yield, then use the grinder to control flow.
If the shot is sour, thin or finishes too quickly
The coffee may be under-extracted. Try grinding a little finer so the water spends more time in contact with the coffee. If that makes the shot drag too much, you can also increase the yield slightly, for example from 36g to 38g or 40g, to see whether the flavour opens up.
If the shot is bitter, dry or painfully slow
The coffee may be over-extracted. Try grinding slightly coarser. If the shot still tastes heavy and rough, stop a little earlier with a smaller yield.
Keep your adjustments small
With espresso, small changes are often enough. Move one variable at a time and taste the result. If you change grind, dose and yield together, it becomes hard to learn what actually helped.
Puck preparation matters, but keep it sensible
Before the water touches the coffee, you want the grounds spread evenly in the basket. If one area is denser than another, water will find the easier path and create channeling. That leads to uneven extraction and messy shots.
You do not need an elaborate ritual, but a tidy workflow helps. A simple routine might be:
- Grind into the basket or a dosing cup
- Distribute the grounds evenly with a gentle shake or distribution tool
- Use a WDT tool if clumps are a regular problem
- Tamp level and firmly
- Lock in the portafilter and start the shot promptly
The tamp does not need superhuman force. It needs to be level and consistent. Once the coffee is properly compressed, pressing harder rarely improves the shot. Far more important is making sure the bed is even.
Pressure and temperature: useful, but not worth stressing over at first
Many home enthusiasts become interested in brew pressure, temperature control and shot profiling, and those things can be helpful. But for everyday improvement, they sit behind grind, dose, yield, fresh beans and good puck prep.
If your machine lets you adjust pressure, around 9 bar at the puck is a common reference point. If it has a PID or temperature setting, small changes can help certain coffees. Lower temperatures may suit darker roasts; slightly higher temperatures can help lighter coffees extract more fully. Still, if your grinder is not dialled in, temperature tweaks are not going to rescue the shot.
Milk drinks: getting better texture without waste
In many UK homes, espresso mostly ends up in flat whites, cappuccinos or lattes. That means milk steaming matters just as much as the shot itself. Nicely textured milk should be glossy and smooth, not dry foam sitting on hot milk underneath.
A straightforward milk steaming method
- Use cold milk and a chilled jug if possible
- Fill the jug to around the bottom of the spout
- Keep the steam tip just below the surface at first to introduce a little air
- Once the milk expands, position the jug to create a whirlpool
- Stop when the jug becomes almost too hot to hold comfortably, roughly 55 to 65°C
- Tap and swirl the milk before pouring
For a flat white, you want less foam and a finer texture than for a cappuccino. If you are learning, steam smaller amounts so you waste less milk while getting the feel of it.
Plant milks have improved a lot. Barista versions of oat and soya tend to steam more predictably than standard cartons, though they all behave differently.
Common problems and quick fixes
The shot gushes out in 15 seconds
Grind finer, check that the basket is properly filled for its size, and make sure the coffee bed is evenly prepared.
The shot barely drips
Grind coarser, confirm that you have not overdosed the basket, and check whether the coffee is extremely fresh and still very gassy.
The espresso tastes hollow and weak
Try a finer grind or a slightly smaller yield. Also consider whether the beans are stale.
The flavour is harsh and ashy
You may be over-extracting, using a roast that is darker than you enjoy, or brewing too hot. Start by coarsening the grind slightly.
The machine seems inconsistent day to day
Check warm-up time, bean age, humidity changes, grinder retention and whether you are actually using the same dose and yield each time.
Cleaning is part of better coffee
Old coffee oils go rancid. Milk residue becomes unpleasant quickly. A machine that is not cleaned regularly will produce worse coffee even if your technique is sound.
Daily habits worth keeping
- Purge and wipe the steam wand immediately after use
- Knock out the puck and rinse the basket
- Flush the group head briefly after the shot
- Brush away loose grounds from the grinder and machine
Weekly or regular maintenance
- Backflush the machine if it has a three-way solenoid and the manufacturer recommends it
- Use espresso cleaner for the group as directed
- Wash baskets, portafilters and drip trays thoroughly
- Clean the grinder chute and burr area according to the grinder design
Descaling depends heavily on your water. In hard-water areas, prevention through suitable filtration is usually safer than repeatedly descaling, especially on more expensive machines.
Building a routine that works on a weekday morning
The best home coffee routine is one you can keep up without annoyance. It should suit your kitchen, your schedule and how much attention you want to give the process before work.
A realistic weekday workflow might look like this:
- Switch on the machine and let it warm while you get ready
- Weigh and grind the dose
- Prepare the puck in the same way each time
- Pull the shot to a measured yield
- Steam milk if needed
- Rinse and wipe down straight away
That entire process can become quick and calm with a bit of practice. Consistency is easier when tools are left in sensible places and your recipe is written down, even if only on a note stuck inside a cupboard door.
Should you upgrade your equipment?
Sometimes better results really do require better kit. If your machine cannot maintain stable temperature, your grinder cannot make fine repeatable adjustments, or your pressurised basket is doing all the work, there may be a ceiling on what you can achieve.
That said, many people upgrade too soon. Before buying anything new, ask yourself:
- Am I using fresh coffee with a known roast date?
- Do I weigh dose and yield?
- Is my grinder genuinely the weak point?
- Have I sorted my water and machine warm-up?
- Can I describe what tastes wrong in the cup?
If the answer to several of those is no, your money may be better spent on beans, scales, a simple filter solution or grinder improvements rather than a more expensive machine.
Final thoughts
Better espresso at home is rarely about one magic trick. It comes from a string of small, sensible choices repeated well: fresh coffee, the right grind, balanced water, enough warm-up, a consistent recipe and good cleaning habits. Once those are in place, even an ordinary Tuesday morning shot can be genuinely excellent.
If you are new to this, keep it simple. Pick one coffee, one basket, one recipe and learn how changes in grind affect taste. If you already make decent espresso, focus on the details that improve consistency, especially water and workflow. The goal is not to make coffee more complicated than it needs to be. The goal is to make it better, more often, in a way that fits everyday life at home.
And when you do get a sweet, balanced shot with silky milk and no fuss at all, it feels every bit as good as it should.